How to install cPanel on CentOS
In this tutorial, we will explain How to install cPanel on CentOS.
cPanel is an online Linux-based web hosting control panel that provides a graphical interface and automation tools designed to simplify the process of hosting a website to the website owner or the “end user”. cPanel utilizes a three-tier structure that provides capabilities for administrators, resellers, and end-user website owners to control the various aspects of website and server administration through a standard web browser.
This tutorial is now older than 2 years and may contain outdated information. There might be inaccuracies due to major changes in the software described. You should rather consider this tutorial as a general guideline that may or may not work in your specific situation.
Prerequisites
In order to follow along this tutorial, you'll need
- A VPS running CentOS (e.g. a VPS Start)
- A valid cPanel license
Step 1 – Prepare for installation
As cPanel is written in Perl, you'll need to have perl installed on your server, before you can proceed with the installation. Also, curl is a requirement to download the installation script. If you are connected to your server using a non-root user, you'll need to prefix the following commands with sudo to run them with elevated privileges.
sudo yum install -y perl curl
Another requirement is to have a valid hostname. If you haven't set one for your server, yet, you can set one using the following command.
sudo hostnamectl set-hostname your-fully-qualified-domain-name.tld
In the last preparation step, you'll need to install a bunch of default packages that are required by cPanel. Luckily, this is pretty easy under CentOS as you can utilize the groupinstall command with yum to install a group of packages at once.
sudo yum groupinstall -y base
Step 2 – Install cPanel
Finally, you can install cPanel by running only this command:
curl -o latest -L https://securedownloads.cpanel.net/latest && sudo chmod +x latest && sudo sh latest
This command will download the latest cPanel installer, make it executable and then run it with elevated privileges. The installer will take care of downloading all required packages and installing them on your server.
It may take a few minutes to complete the installation.
Step 3 – Configuration
After you've successfully installed cPanel, you need to configure it to your personal needs. By default, the cPanel web interface is listening on port 2087/tcp. In order to access the web interface, start your browser and open the following URL:
https://<your-ip-address>:2087/
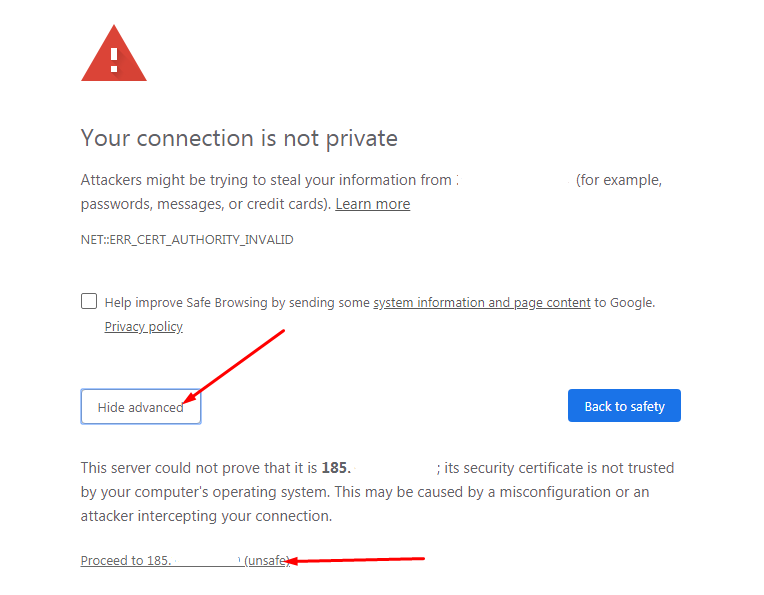
As the SSL certificate is self-signed, it's perfectly normal that you'll get a security error. Accept the invalid certificate and proceed to the sign-in page.

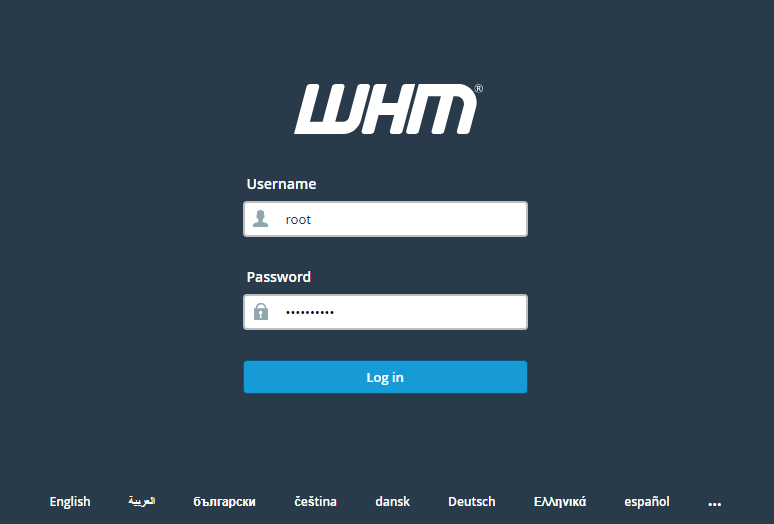
There you can access the web interface by logging in with your server's root user and the corresponding password.

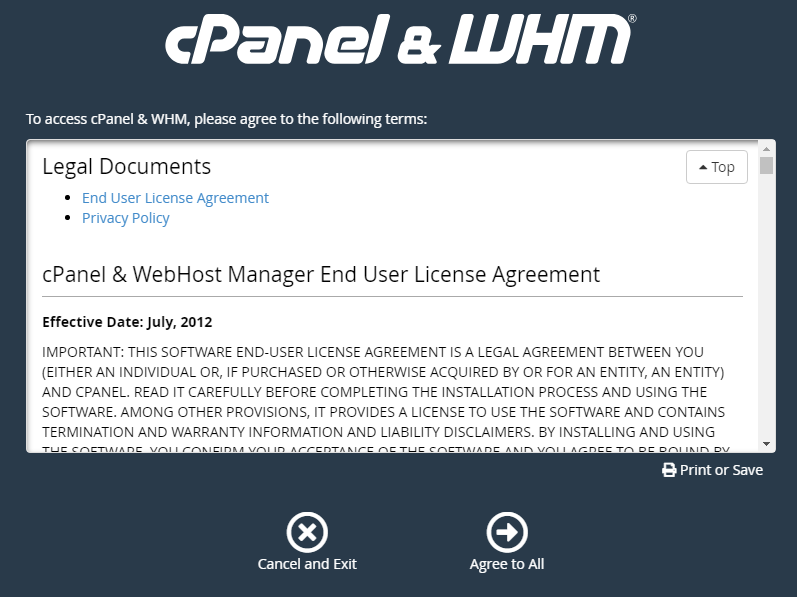
After your first login, you need to read and agree to the cPanel terms of service.

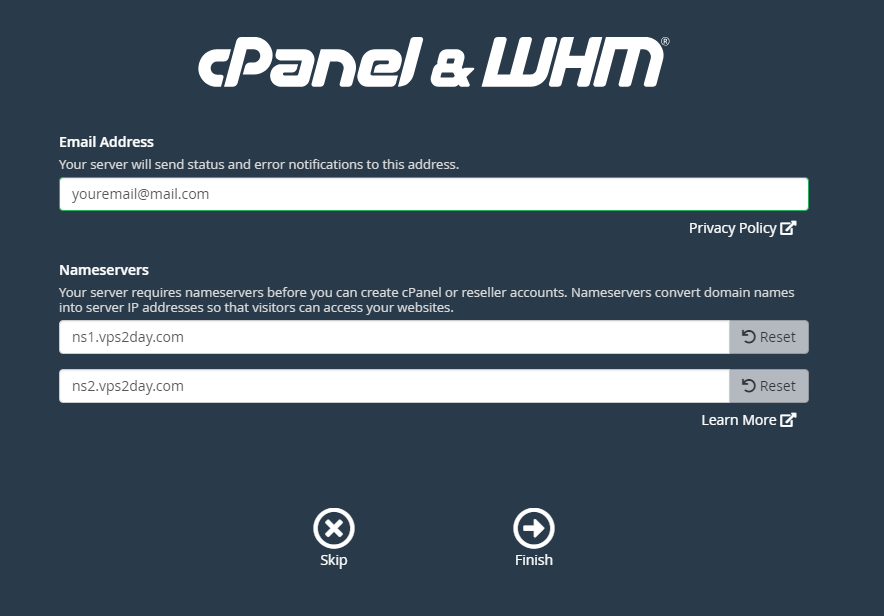
In a last step, you'll be asked for your e-mail address and two name servers. You can use the name servers provided by your hosting provider or you can use your own name servers if you have any.

If you're uncertain what to enter here, you can just use the Google Public DNS servers that are available under 8.8.8.8 and 8.8.4.4.
Finally, you can click on Finish and complete the installation of cPanel on your CentOS server.