Introduction
Generally, when installing your VPS with Ubuntu 22.04 LTS, your server will be provisioned with Ubuntu Server which doesn't come with any graphical environment by default. However, if you want to use your Linux VPS as a remote desktop computer, you can absolutely do so by installing a graphical desktop environment on your server.
This is the perfect choice if you wish to run graphical Linux applications 24/7 or if you want some serious hardware performance but don't want to carry it around. You can just connect to your server from any device and use it as if it was a local computer.
We'd recommend using at least a VPS Basic with a freshly performed re-installation of Ubuntu 22.04 LTS. Of course, you can also use your existing VPS with another provider.
While it might work with less resources, you might run into performance issues. You must not forget that graphical environments always consume more resources than a server without a graphical environment. Also, the responsiveness of your desktop experience heavily depends on your internet connection and latency. If you have a slow internet connection or a high latency, you might experience a laggy desktop experience.
Prerequisites
- Server running a fresh installation of Ubuntu 22.04 LTS
- SSH access to the server
- Root privileges on the server
Installing the graphical desktop environment
To install the graphical desktop environment of your choice, you can use the tool tasksel (task select) which comes by default with Ubuntu 22.04 LTS. In case the tool is not installed on your server, you can install it by running the following command:
sudo apt install tasksel
Running tasksel
Now, you can run tasksel by executing the following command:
sudo tasksel
This will open a very simple graphical user interface which allows you to select certain pre-defined roles for your server. You can navigate through the highlighted menu by using your arrow keys. To select or unselect a role, you can press the Space key when the role is highlighted.
To install a graphical desktop environment, you'll want to select one of the available desktop environments. If you are unfamiliar with the different desktop environments that are offered, we recommend choosing Xfce which is a sensible and stable choice for most use cases and beginners. Also, it's pretty lightweight so it will run on most servers without any issues.
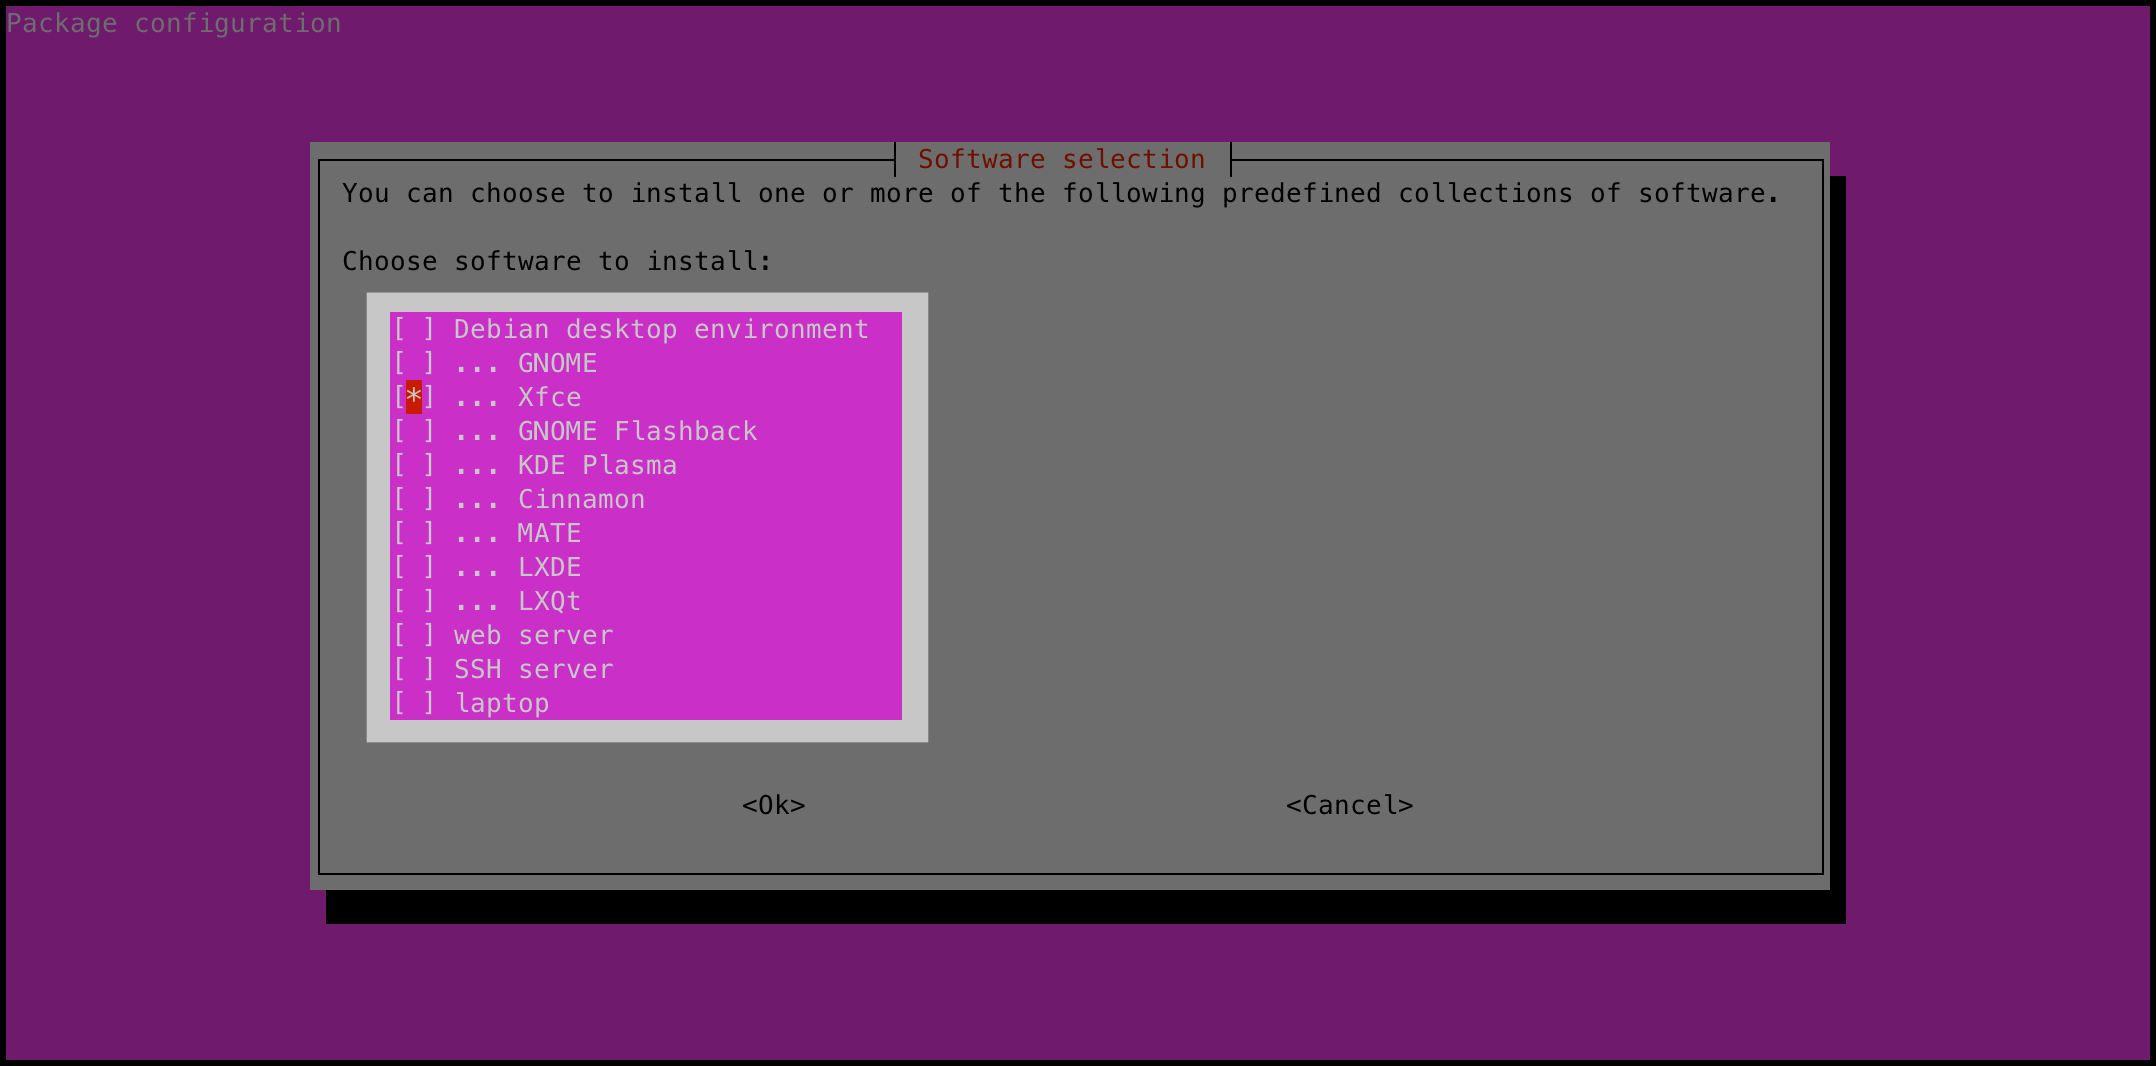
Once you're happy, press the Tab key to navigate to the OK button and press Enter to confirm your selection.
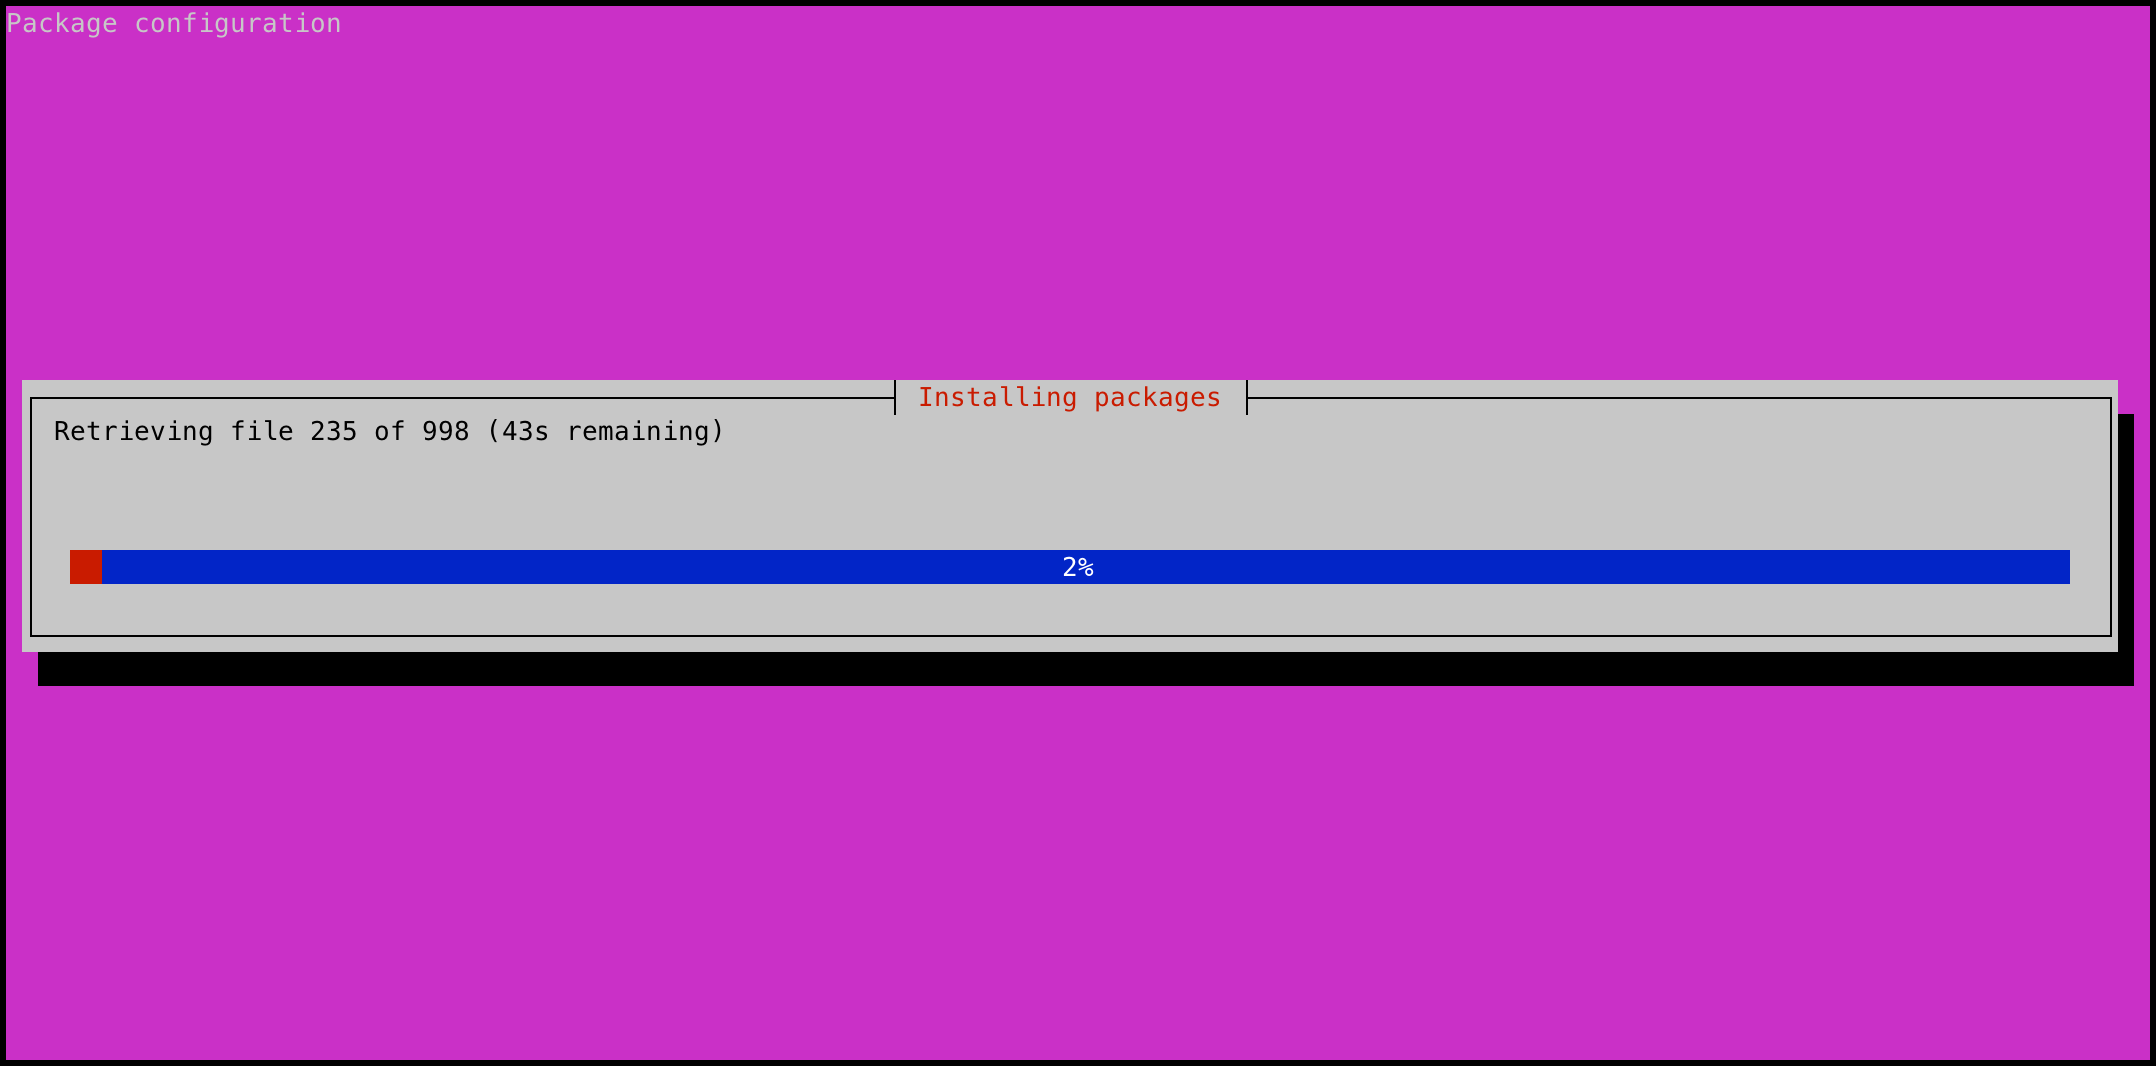
Once you've confirmed your selection, the tool will start to install all necessary packages that are required to run a graphical desktop environment. This process may take some time as there are many (and some large) packages that need to be installed. Grab yourself a coffee and wait until the installation is finished.
Installing a VNC server
After the installation, you may have noticed that nothing really changed. That's because you're still connected via an SSH connection to your server. SSH stands for Secure Shell and is a purely text-based protocol that is not capable of transmitting a graphical user interface or desktop environment.
In order to connect to your server with a graphical user interface, you'll need to install a VNC server, first. This will basically offer you the same functionality as you already know from our VNC console in our client portal, but running as a standalone application on your desktop, instead.
In this tutorial, we'll install TigerVNC which is free, open-source and widely known. However, feel free to install any other VNC server if you're familiar with the installation and configuration process.
To install TigerVNC, you can run the following command:
sudo apt install tigervnc-standalone-server tigervnc-common
Preparing a separate user account
While theoretically possible, it would be highly dangerous to use your root user to connect to your server via VNC. The root user has elevated rights and can do anything on your server. In case your VNC connection gets compromised, an attacker would have full control over your server.
So, to follow best practice, you need to create a separate user account that you will use to connect to your server and work under. To create a new user account, you can run the following command:
sudo adduser <USERNAME>
Replace <USERNAME> with a username of your choice. You'll be asked to enter a password for the new user. Please enter a secure password and confirm it by pressing Enter. You can safely ignore all other questions and confirm with Enter.
root@ubuntu-vps-start-se-sto1-1:~# adduser johndoe
Adding user `johndoe' ...
Adding new group `johndoe' (1000) ...
Adding new user `johndoe' (1000) with group `johndoe' ...
Creating home directory `/home/johndoe' ...
Copying files from `/etc/skel' ...
New password:
Retype new password:
passwd: password updated successfully
Changing the user information for johndoe
Enter the new value, or press ENTER for the default
	Full Name []:
	Room Number []:
	Work Phone []:
	Home Phone []:
	Other []:
Is the information correct? [Y/n] Y
Initialize the VNC server
Now, you can initialize the VNC server for the newly created user by running the following command:
sudo -u <USERNAME> vncserver
The wizard will ask you for a password for the VNC server. Please enter a secure password and confirm it by pressing Enter. A safe password is unique and at least 8 characters long. The security of this password is crucial to prevent third parties from accessing your graphical desktop environment.
root@ubuntu-vps-start-se-sto1-1:~# sudo -u johndoe vncserver

You will require a password to access your desktops.

Password:
Verify:
Would you like to enter a view-only password (y/n)? n
A view-only password is not used
/usr/bin/xauth:  file /home/johndoe/.Xauthority does not exist

New Xtigervnc server 'ubuntu-vps-start-se-sto1-1:1 (johndoe)' on port 5901 for display :1.
Use xtigervncviewer -SecurityTypes VncAuth -passwd /home/johndoe/.vnc/passwd :1 to connect to the VNC server.
When typing the password, you will not see what you type. This is normal behavior and designed to prevent others from seeing your password while you type it.
After you ran the command above, the VNC server is already started on the displayed port 5901. You can verify that by running the following command:
root@ubuntu-vps-start-se-sto1-1:~# netstat -tulpen | grep 5901
tcp        0      0 127.0.0.1:5901          0.0.0.0:*               LISTEN      1000       80343      32921/Xtigervnc
tcp6       0      0 ::1:5901                :::*                    LISTEN      1000       80344      32921/Xtigervnc
As you can see here, the VNC server does only listen on the server's loopback interface. So right now, your VNC server is not accessible from the outside. We'll come back to that topic later. For now, there are still some configuration adjustments we should take care of.
Configure your VNC session
First of all, we need to stop the VNC server again. To do so, you can run the following command:
root@ubuntu-vps-start-se-sto1-1:~# sudo -u johndoe vncserver -kill :1
Killing Xtigervnc process ID 32921... success!
Then, we'll temporarily sign in as the newly created user by running the following command:
sudo -u <USERNAME> -i
Once you're signed in, we'll create a new file called ~/.vnc/config and open it in a text editor. If you're unsure how to edit a file, please read our tutorial on how to edit a file in Linux.
touch ~/.vnc/config && nano ~/.vnc/config
Place the following configuration into that file:
session=xfce
geometry=1920x1280
alwaysshared
This will configure your VNC server to use the Xfce desktop environment you just installed and to use a resolution of 1920x1280 pixels. You can adjust the resolution to your liking but that proves to be a good starting point for most use cases. Save and exit the file and return back to the root user by pressing Ctrl + D afterward.
Start the VNC server
In theory, you could now just start the VNC server again with the command we used above:
sudo -u <USERNAME> vncserver
However, this will bear the issue that the VNC server will not automatically start when you e.g. restart your server. That's why we'd recommend telling systemd to automatically start the VNC server for you.
Luckily TigerVNC does already come with a systemd wildcard unit file. All we need to do first, is to tell TigerVNC which user is using which desktop ID. To do so we can run the following command as root:
root@ubuntu-vps-start-se-sto1-1:~# echo ":1=johndoe" >> /etc/tigervnc/vncserver.users
Afterward, tell systemd to automatically start the VNC server for the user johndoe by running the following command:
root@ubuntu-vps-start-se-sto1-1:~# systemctl enable --now tigervncserver@:1.service
Created symlink /etc/systemd/system/multi-user.target.wants/tigervncserver@:1.service → /lib/systemd/system/tigervncserver@.service.
This will immediately start the TigerVNC server and make sure that it will automatically start on boot.
Add more users to your VNC server
If you want to use your server's graphical environment with more than just one user, you can just repeat the steps above. However, you need to make sure that you use a different display ID for each user. So for example, if you want to add another user called janedoe, you need to use the display ID :2 instead of :1 as we did above.
Connect to the VNC server via SSH tunnel
Right now, the VNC server is only listening on the server's loopback interface which means that you can only connect to it from the server itself. While this might sound counterintuitive, it's actually a good thing in terms of security. To connect to it from your local computer, you first need to establish a SSH tunnel to the server and forward the VNC server's port to your local computer.
If you want to learn how to expose the VNC server to the internet to connect to it directly, please skip this section and read the last section of this tutorial. However, we strongly recommend using the SSH tunnel method as it's more secure.
Establish the SSH tunnel
In order to establish an SSH tunnel to your server, you need a SSH client on your local computer that supports port forwarding. If you're using Windows, we recommend using PuTTY or the PowerShell's SSH client. If you're using Linux or macOS, you can use the built-in SSH client in the terminal.
To establish the tunnel, you need to run the following command:
ssh -L 5901:localhost:5901 user@ip
Replace the user and ip placeholders accordingly. Running the command will open a normal-looking SSH connection to your server. However, in the background, it will forward the server's port 5901 to your local computer's port 5901. This means that when you connect to your local computer's port 5901, you'll actually connect to the server's port 5901.
Connect to the VNC server
Now, you can connect to the VNC server by using a VNC client of your choice. RealVNC's VNC viewer is available for all major operating systems and is free to use. You can download it here.
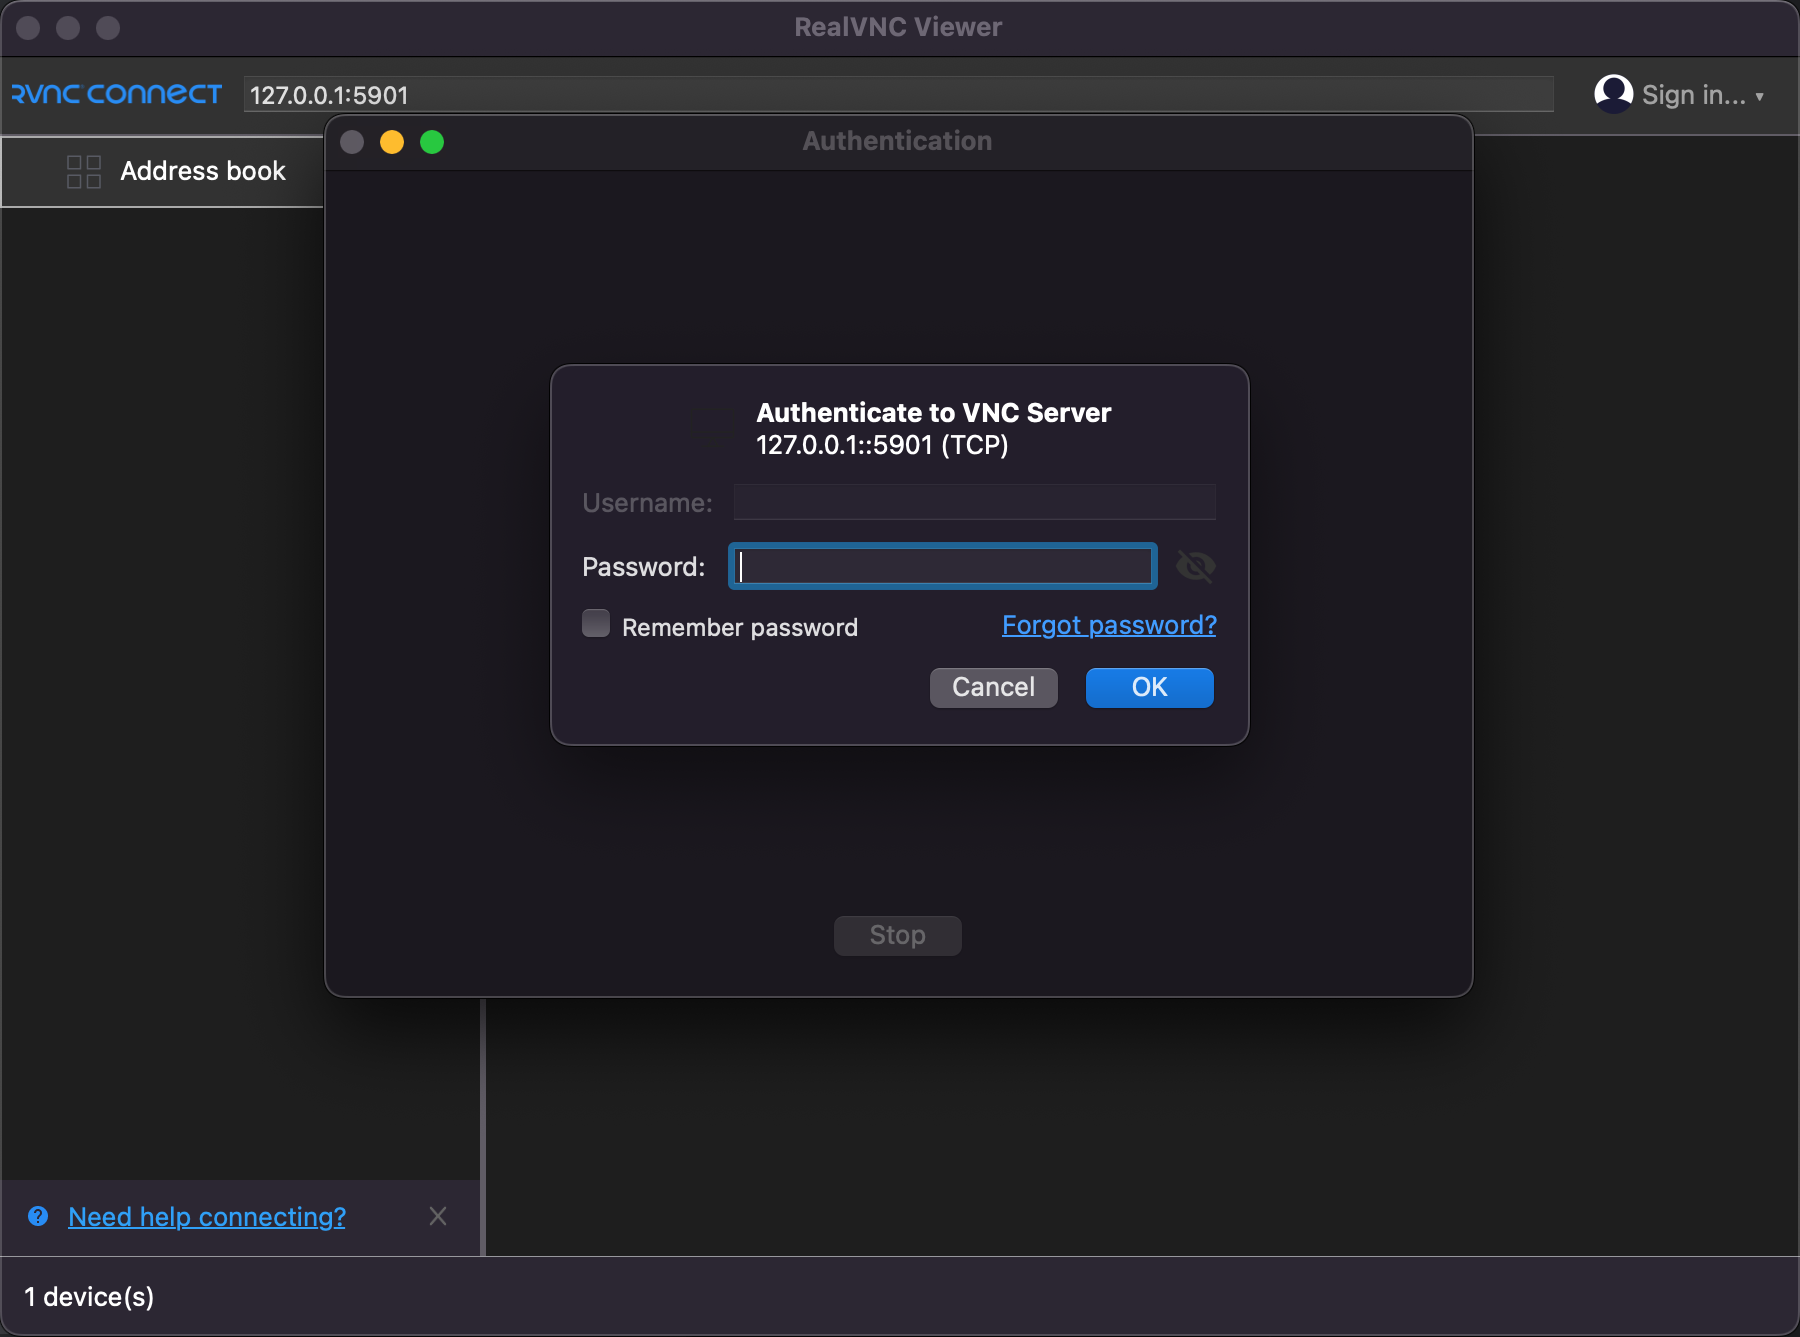
When connecting, make sure that you don't enter your server's IP but rather 127.0.0.1 as you've already established the SSH tunnel to your server. Please keep in mind that you need to keep your SSH session, you established in the last step, open all the time while being conected. Otherwise, the connection will be interrupted.
When prompted for a password, enter the password you set for your VNC connection in the second step of this tutorial.
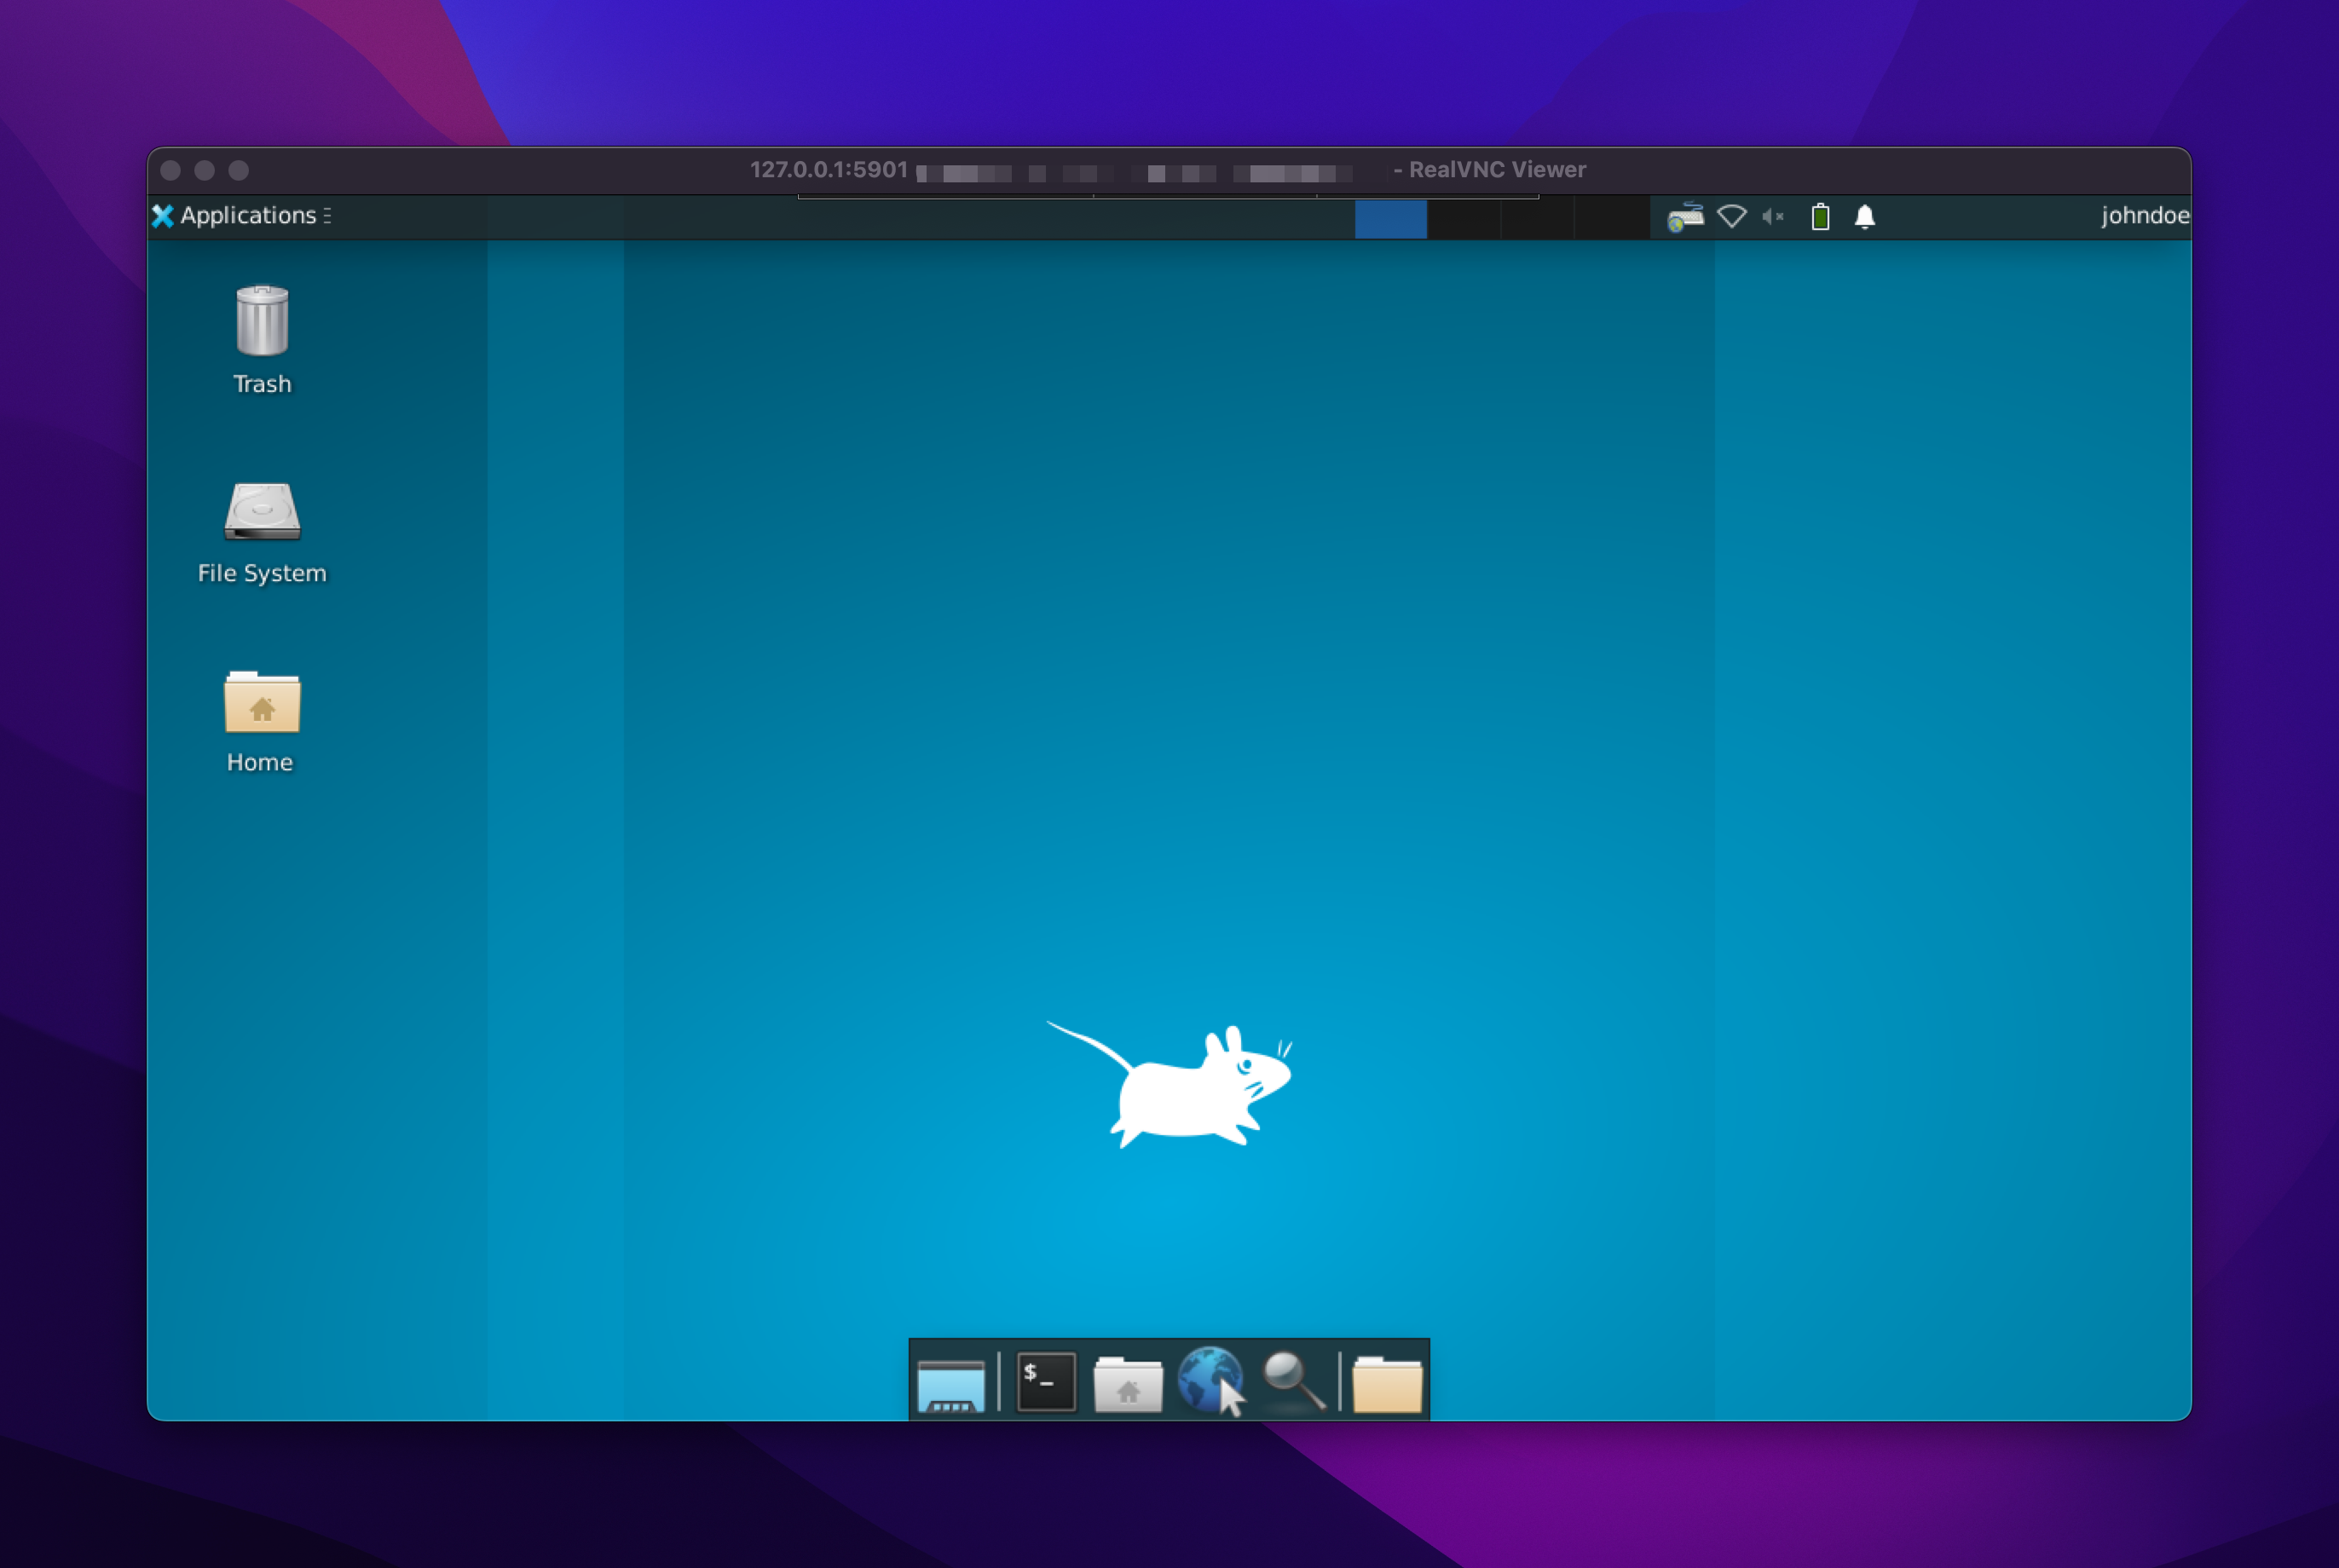
Afterward, you should be connected to your server's graphical desktop environment.
Expose the VNC server to the internet
As mentioned above, the VNC server is currently only listening on the server's loopback interface. This means that you can only connect to it from your computer by utilising an SSH tunnel which isn't the most comfortable way to connect to your server for the majority of the users.
Exposing your VNC server to the internet is a security risk. If you do so, we recommend putting a firewall in place that only allows connection towards the VNC server's port from certain IP addresses or via a VPN connection, only. Otherwise, you might risk that your VNC server gets compromised and your server gets hacked.
In order to force TigerVNC to listen on all network interfaces instead of the loopback interface, only, we need to edit the user-specific VNC configuration file. Log back in as the user you're working with and edit the file under ~/.vnc/config as following.
session=xfce
geometry=1920x1280
alwaysshared
localhost=no
Adding the localhost=no directive, will tell TigerVNC to listen on all network interfaces instead.
After restarting the VNC server, you can verify that it's now listening on all network interfaces by running the following command:
root@ubuntu-vps-start-se-sto1-1:~# netstat -tulpen | grep 5901
tcp        0      0 0.0.0.0:5901            0.0.0.0:*               LISTEN      1000       93807      35851/Xtigervnc
tcp6       0      0 :::5901                 :::*                    LISTEN      1000       93808      35851/Xtigervnc
As you can see now, the server is no longer listening on 127.0.0.1:5901 but rather on 0.0.0.0:5901 which means that it's listening on all network interfaces. Without any furhter firewall configuration, you should now be able to connect to the VNC server directly from your computer.
However, as mentioned above, it's not recommended to leave it that way. As responsible server administrator, you always need to make sure that your services are properly secured.